
Good Stock
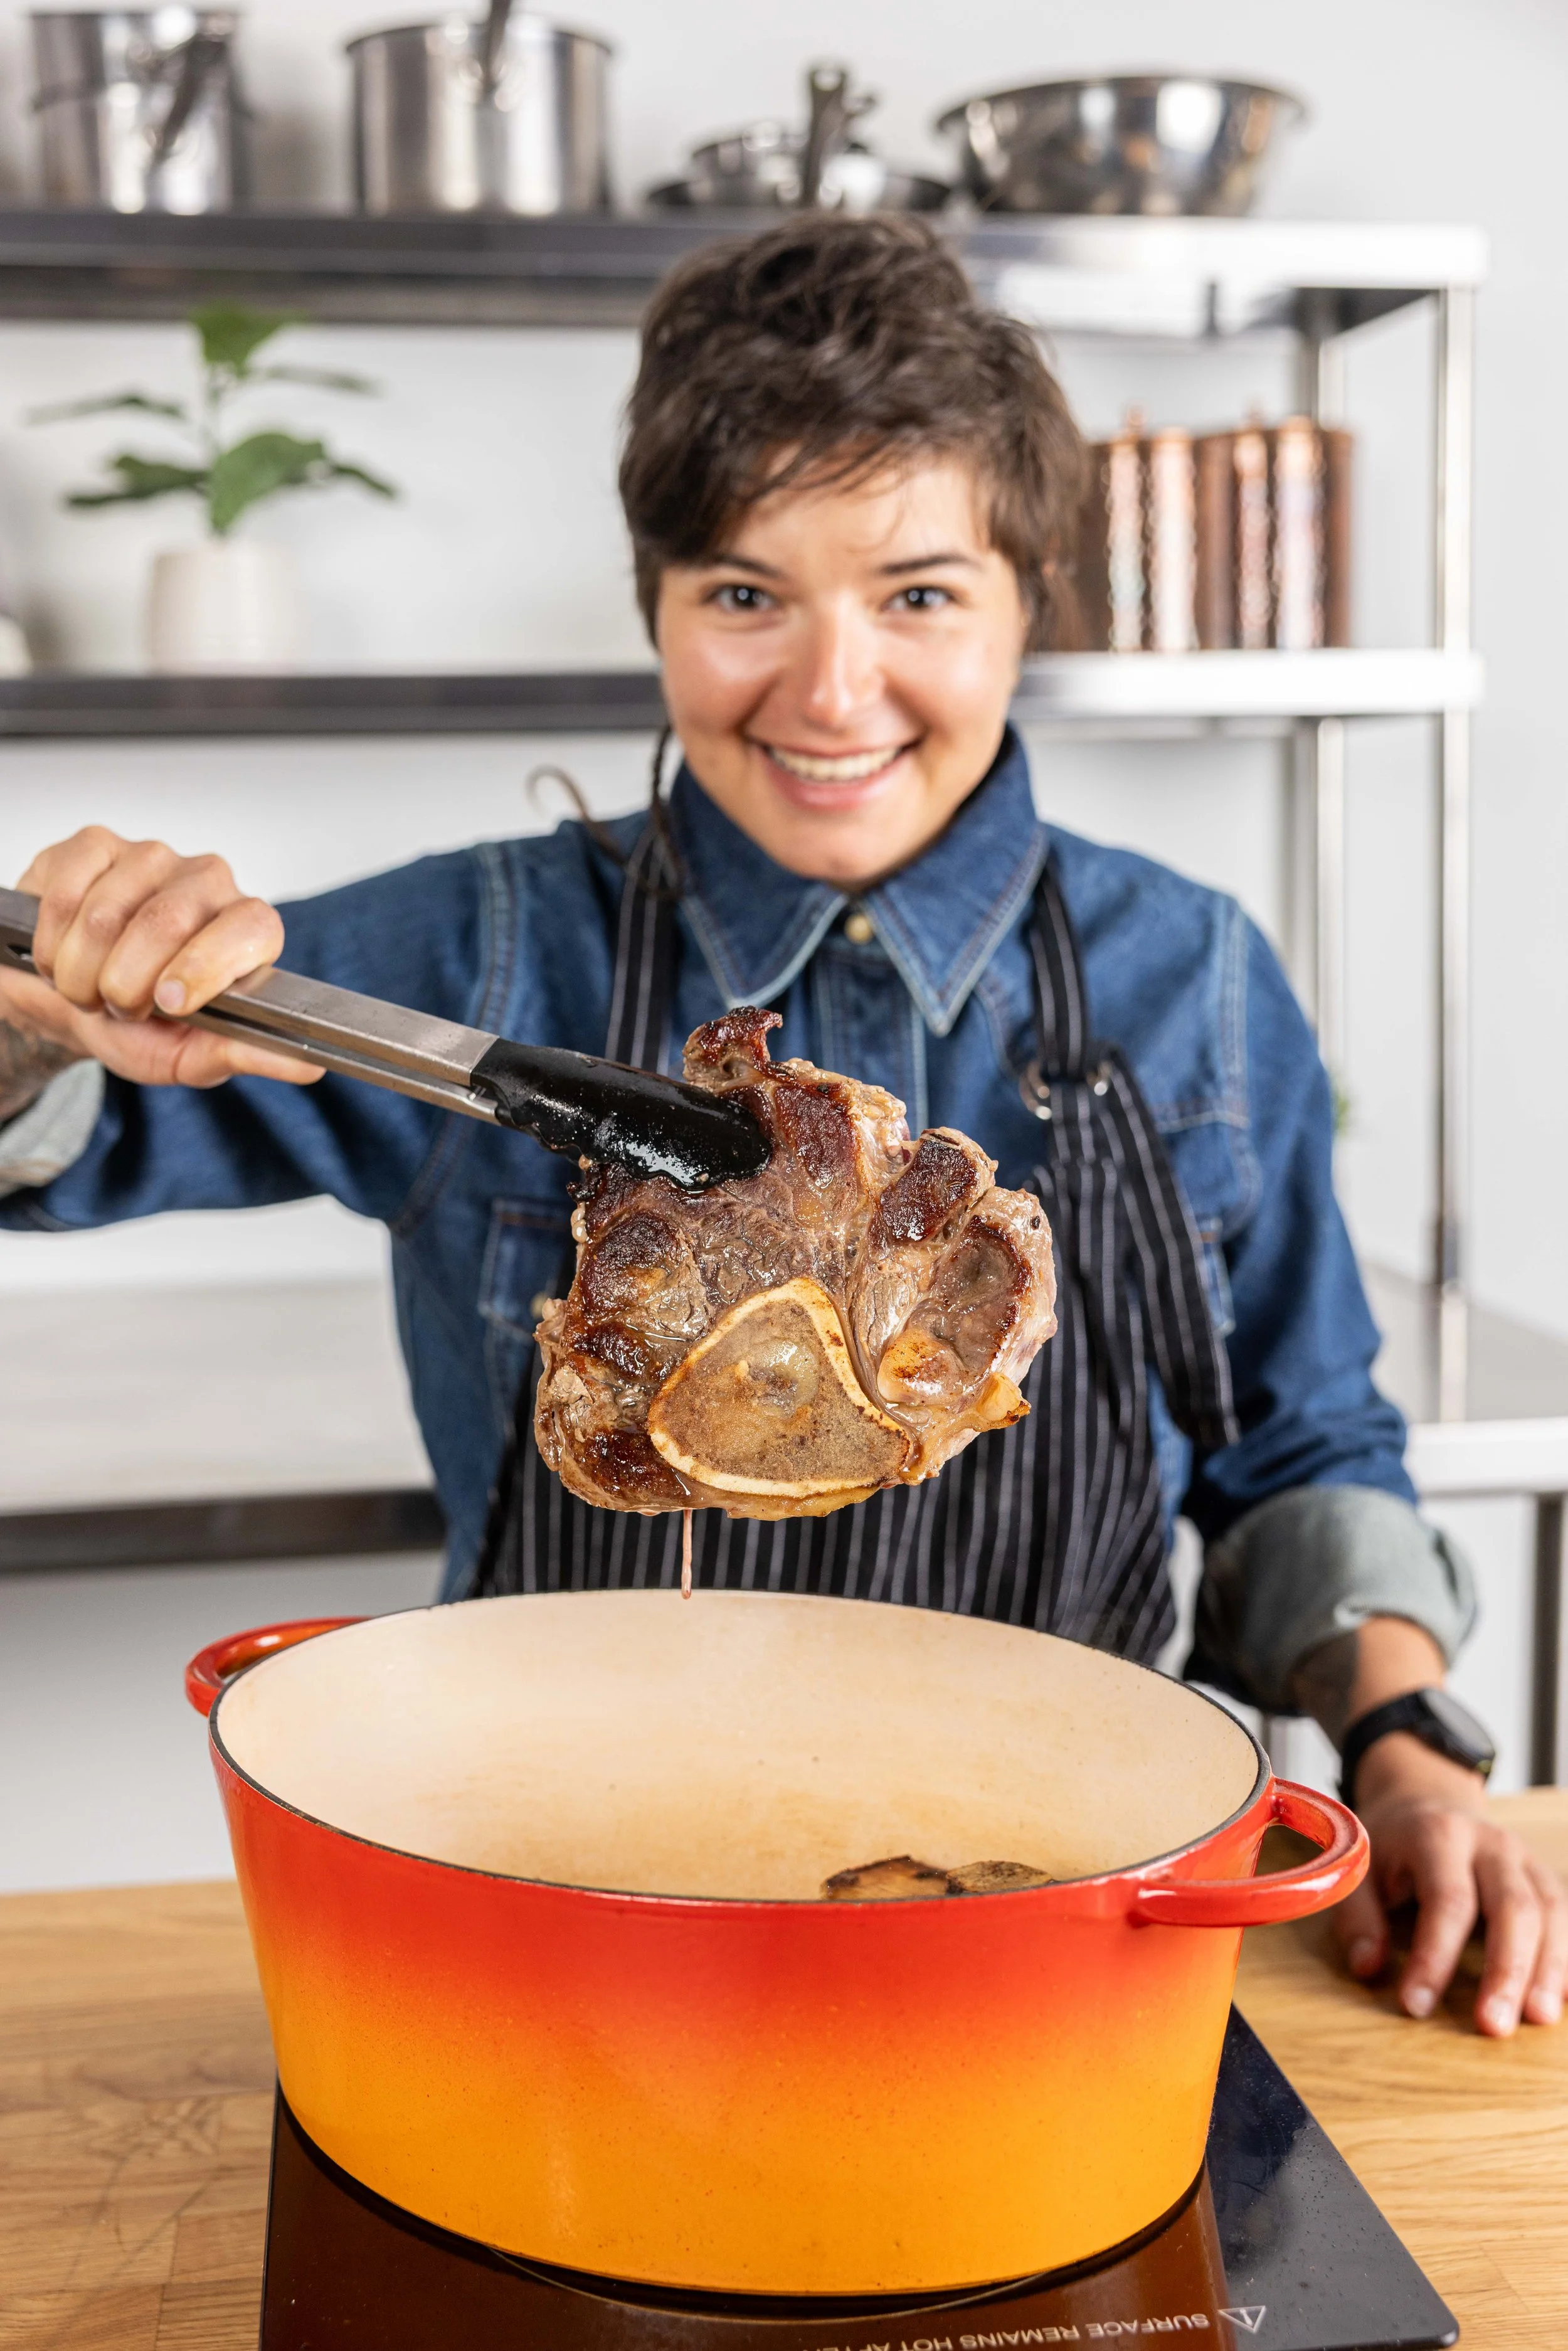
Stocks and broths are foundational to great cooking. My clients, students, friends and family are always astonished by how delicious food tastes when cooked with good broth. Bone broth is having its moment in the spotlight these days. Citing benefits for digestion, joint health, skin, hair and more, nutritionists and influencers alike are singing bone broth’s praises as the ultimate superfood. While I can’t speak directly to these claims, I (and chefs and cooks around the world) can attest to the magic of good broth. Here are the reasons why I love it.
Broth makes everything delicious! Risotto, soups, braises, stews, simply cooked grains, pasta, vegetables; any savory food you might cook with water will benefit from a dose of meaty, silky broth.
Broth makes me feel good! A broth-based meal, like a rich and vibrant pho, a steamy bowl of ramen, an earthy root-vegetable soup, is warming for my belly and my soul. Broth makes satiating food that’s easy on digestion and comforting for the mind and body alike.
I know it’s good for my health! It was my acupuncturist, originally, who recommended I drink broth daily to nourish my spleen and strengthen my energy. Rich in protein, minerals, collagen, and fats, broth packs quite a nutritional punch. I know that incorporating broth into my meals will help me meet my nutritional needs.
Broth reduces food waste. Broth is a fantastic way to use up leftover bones, meat trim (i.e. the silver skin or fat from your roast), unusable or excess vegetables, or simply any vegetable or animal pieces you don’t want to eat on their own. Keep these pieces in a bag in your freezer, and, when it’s full, simmer! Just don’t put anything in your stock that tastes BAD! This includes carrot and potato peels, dirt, or anything that’s spoiled.
Making broth connects me to an elemental part of my humanness. Water, fire, and animals. It’s simple, and it grounds me.
Here’s a basic recipe for making your own beef-based broth, as well as some more resources for your broth-scapades. My best advice for getting more comfortable with cooking broths is to experiment. How does my broth change in flavor when I cook it a few hours longer? Do I like the taste of combining different animal bones (i.e. beef and chicken)? Do these bones seem like they’ve given what they have, or do they need some more time? Do I prefer the taste of marrow bones or knuckle bones? Is it easier for me to cook this in my crock pot, on the stove, or in the oven? Whatever your answers may be, know that broth-making can be made more accessible to you and to suit your preferences, you might just need a little troubleshooting.
Basic Bone BrothRecipe:
Makes 2 quarts
Ingredients:
4-5 lbs of mixed beef bones (I like a combination of marrow bones and knuckle bones. If you have any lamb, pork, or chicken bones, you’re welcome to throw those in here too)
2 carrots, peeled and halved
1 large onion, peeled and halved
2 celery stalks, cleaned
1 bouquet garni (thyme, parsley, bay leaf and black peppercorns, tied in a cheesecloth sash or loose)
3 Tbsp apple cider vinegar
Salt
Equipment:
1 6-8 quart stock pot or dutch oven
1 pair metal tongs
Fine mesh strainer
A secondary bowl or pot for straining into
Quart containers or jars for storing
Directions:
Get your large pot over medium heat
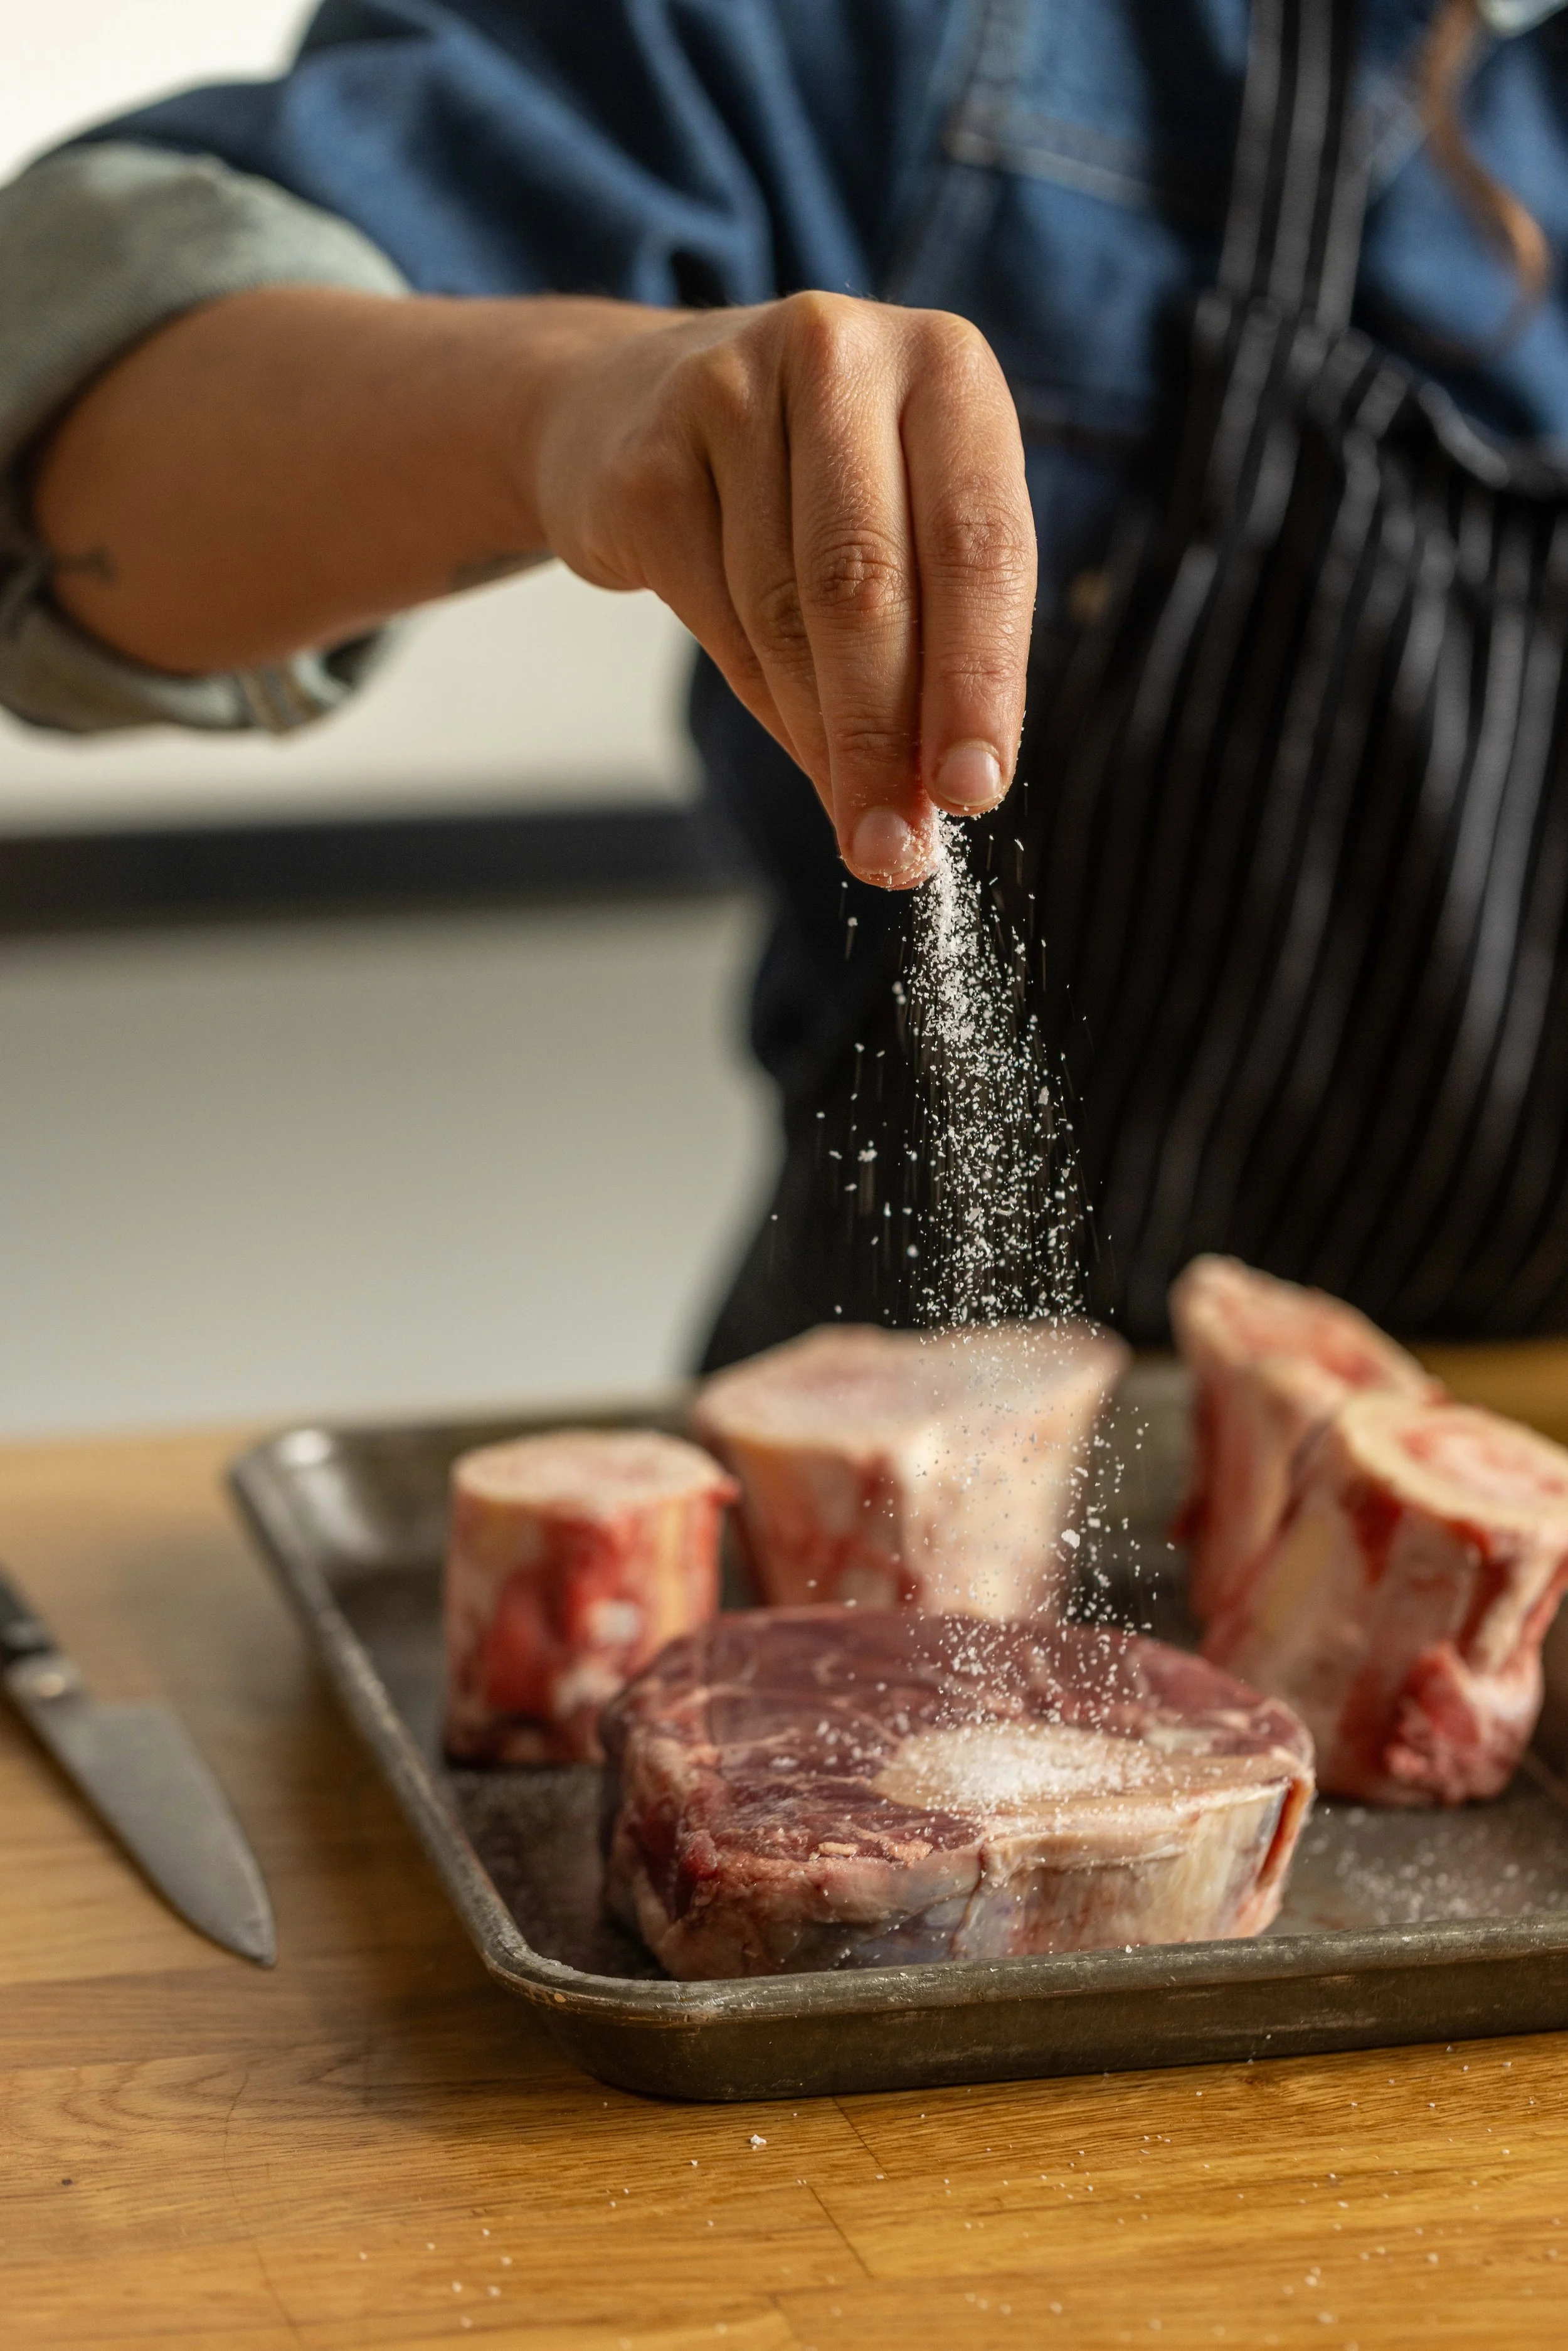
Dry off all your bones and season with a pinch of salt all over
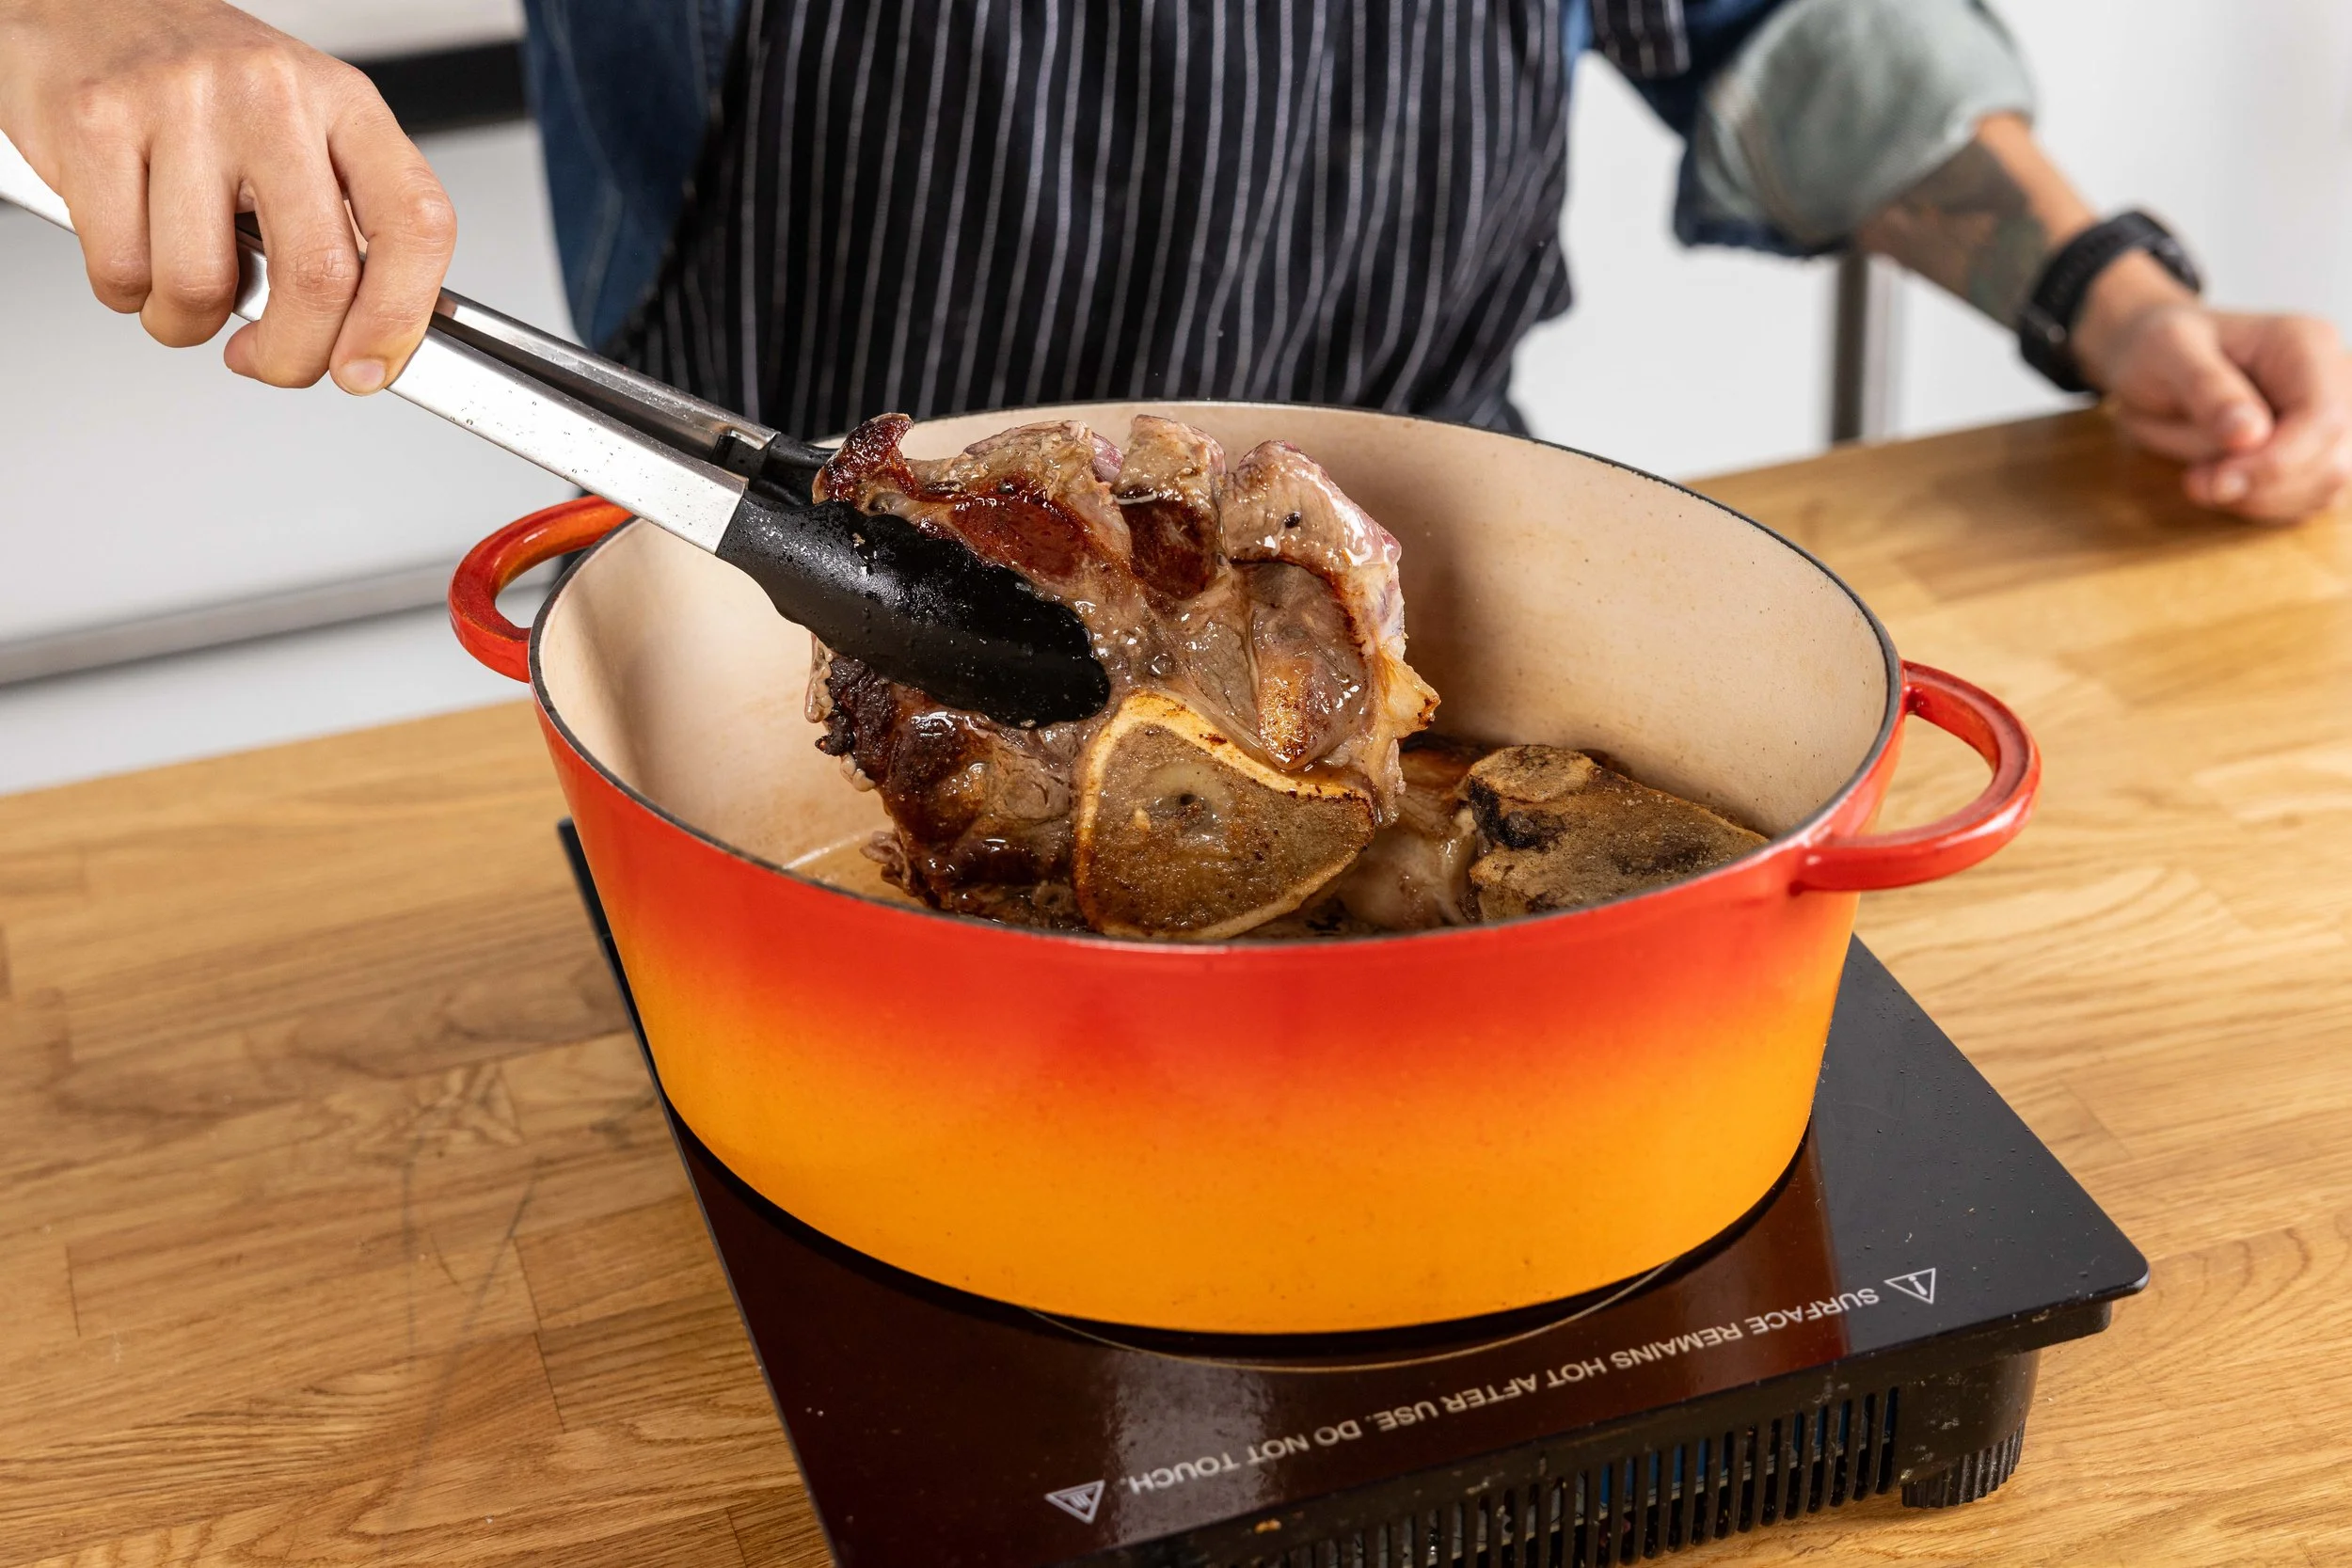
Once your pot is hot, add bones in an even layer. This may take 2-3 batches, depending on the shape of your pot. Brown the bones on all sides. Alternatively, you can roast them on a sheet pan in the oven at 350 degrees for 20-25 mins.
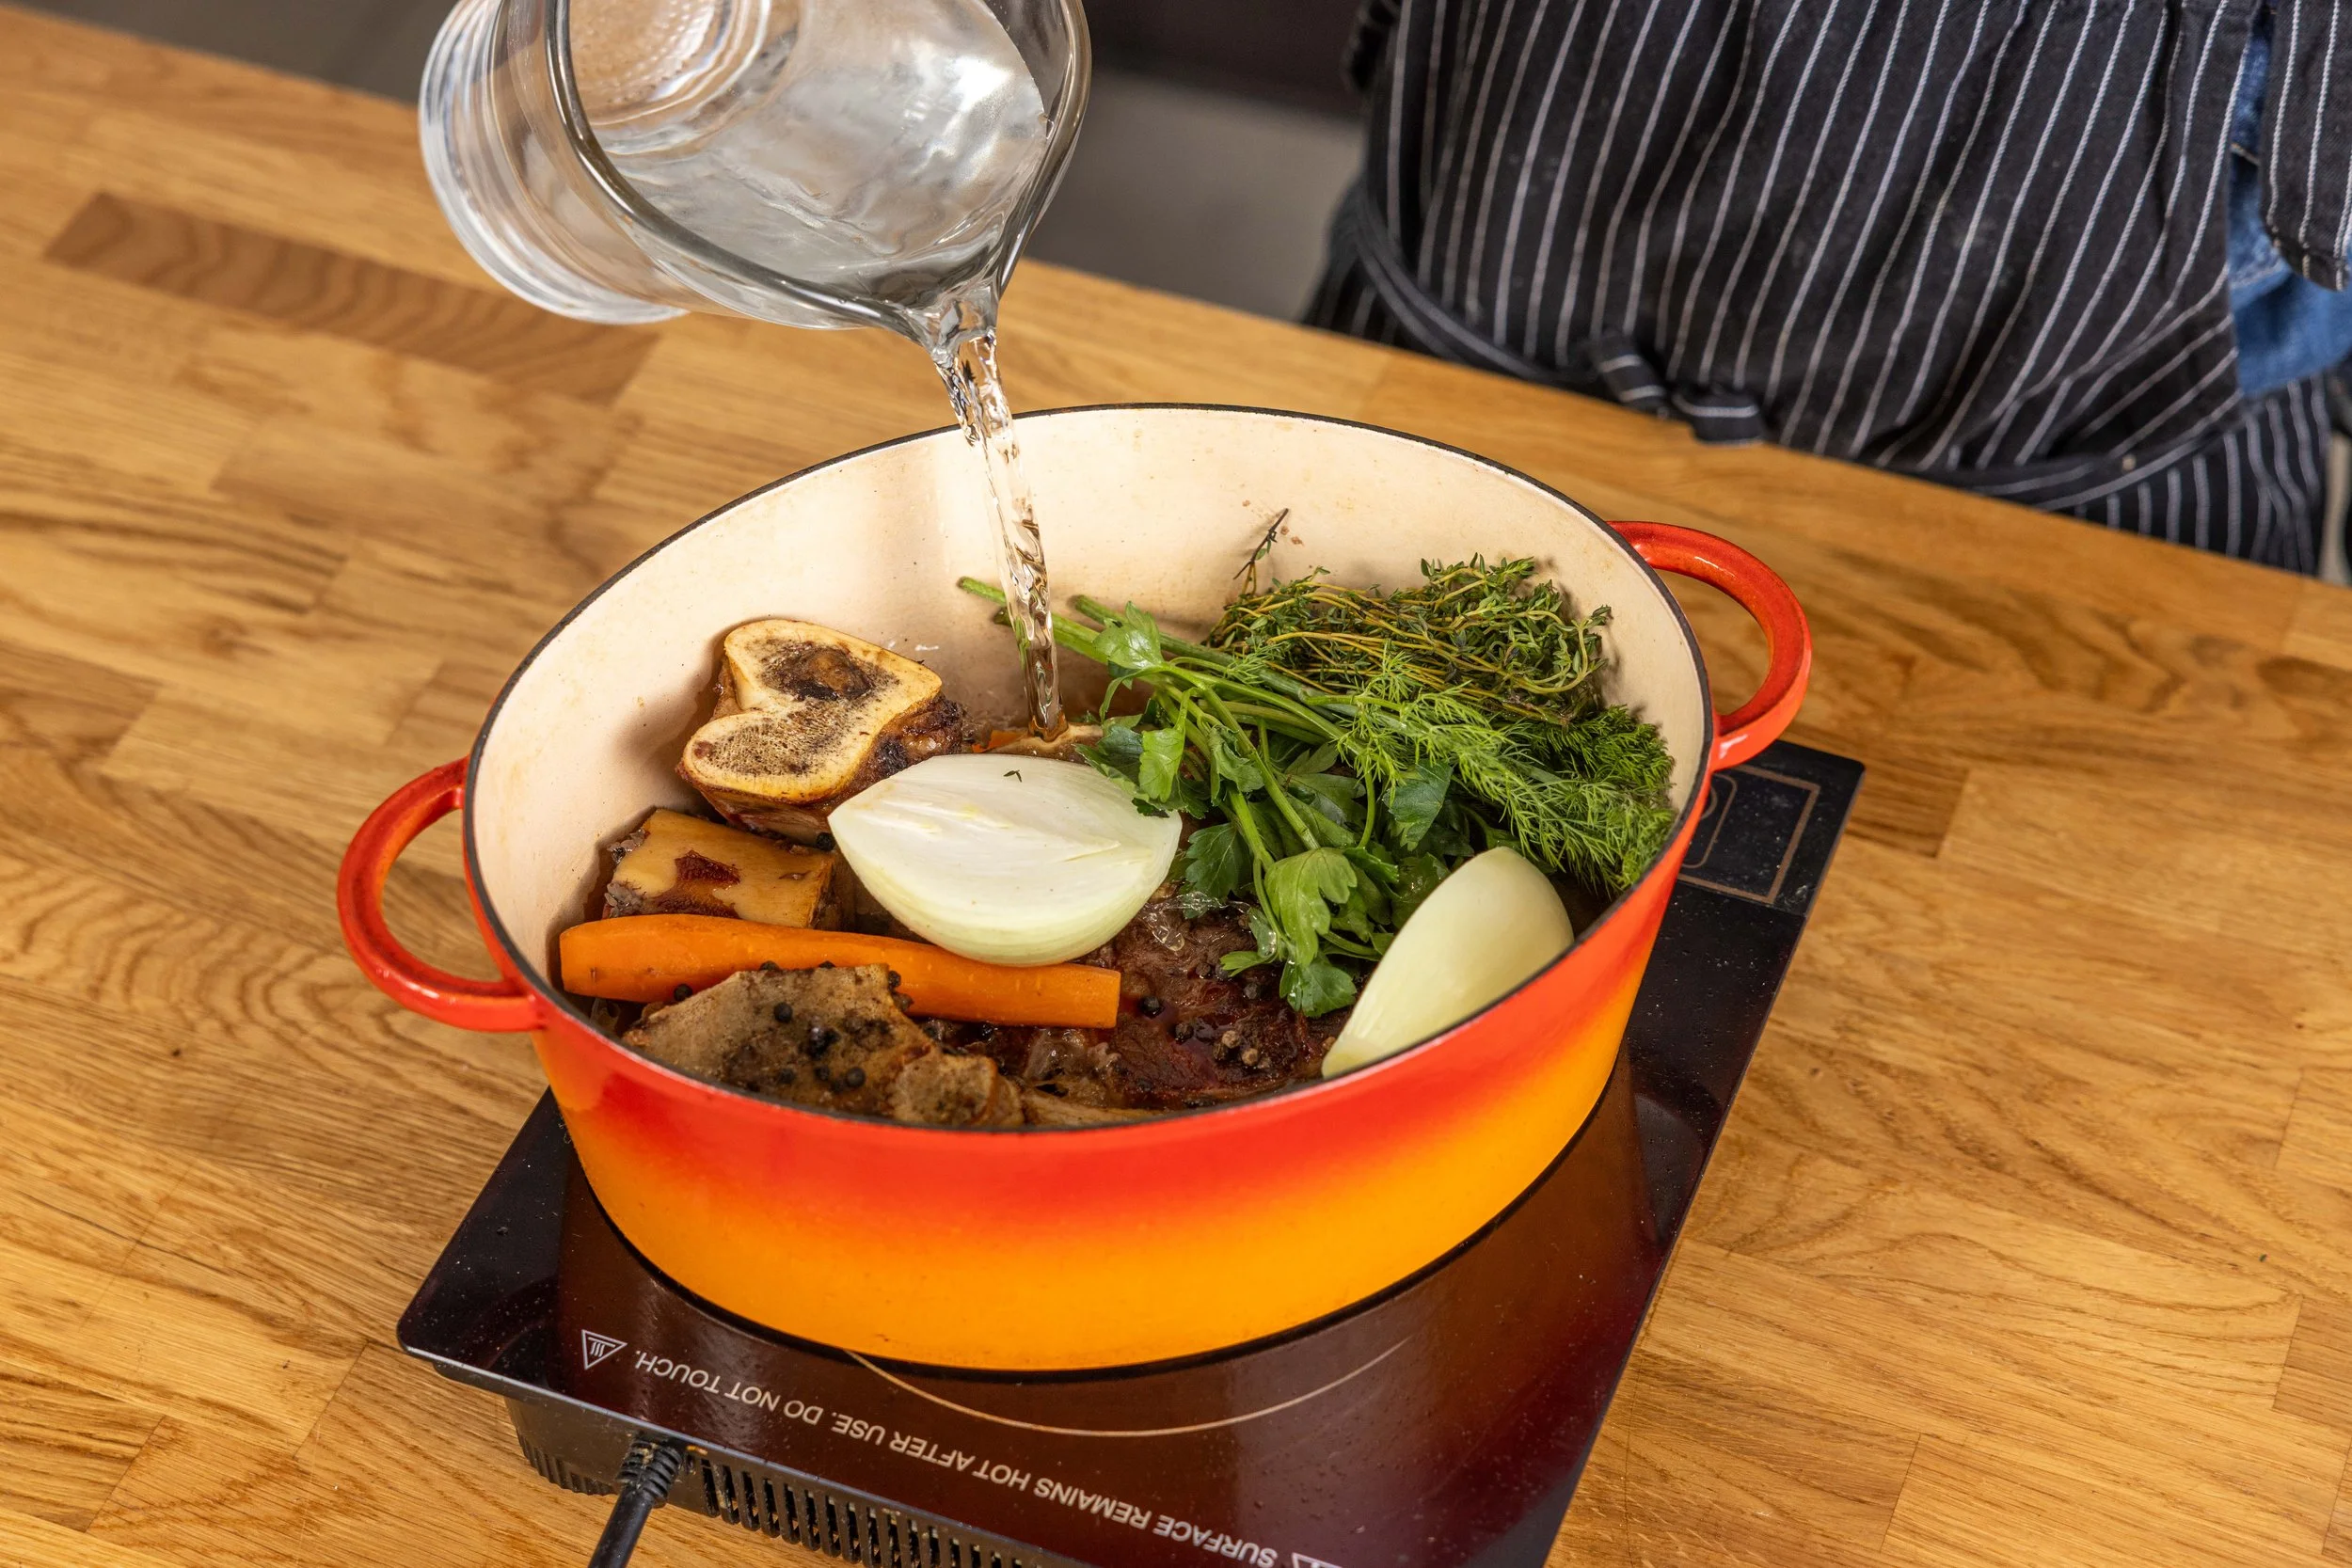
If you browned in batches, return all bones to the pan, and cover with water (it should be around 3 quarts).
Arrange your vegetables and herbs into the pot and your few tablespoons of vinegar.
Bring to a boil, then reduce the heat until the pot is at a gentle simmer. Cover.
Cook on the stovetop for 8-10 hours, or until the knuckle bones’ gelatin has disappeared from the bones, and the bones have begun to soften. At this stage, you can also transfer to a 250 degree oven and cook overnight. Alternatively, you can transfer to a crockpot or pressure cooker for the remainder. You can absolutely cook your broth for less time (4-6 hrs), just know that it will have less flavor and collagen.
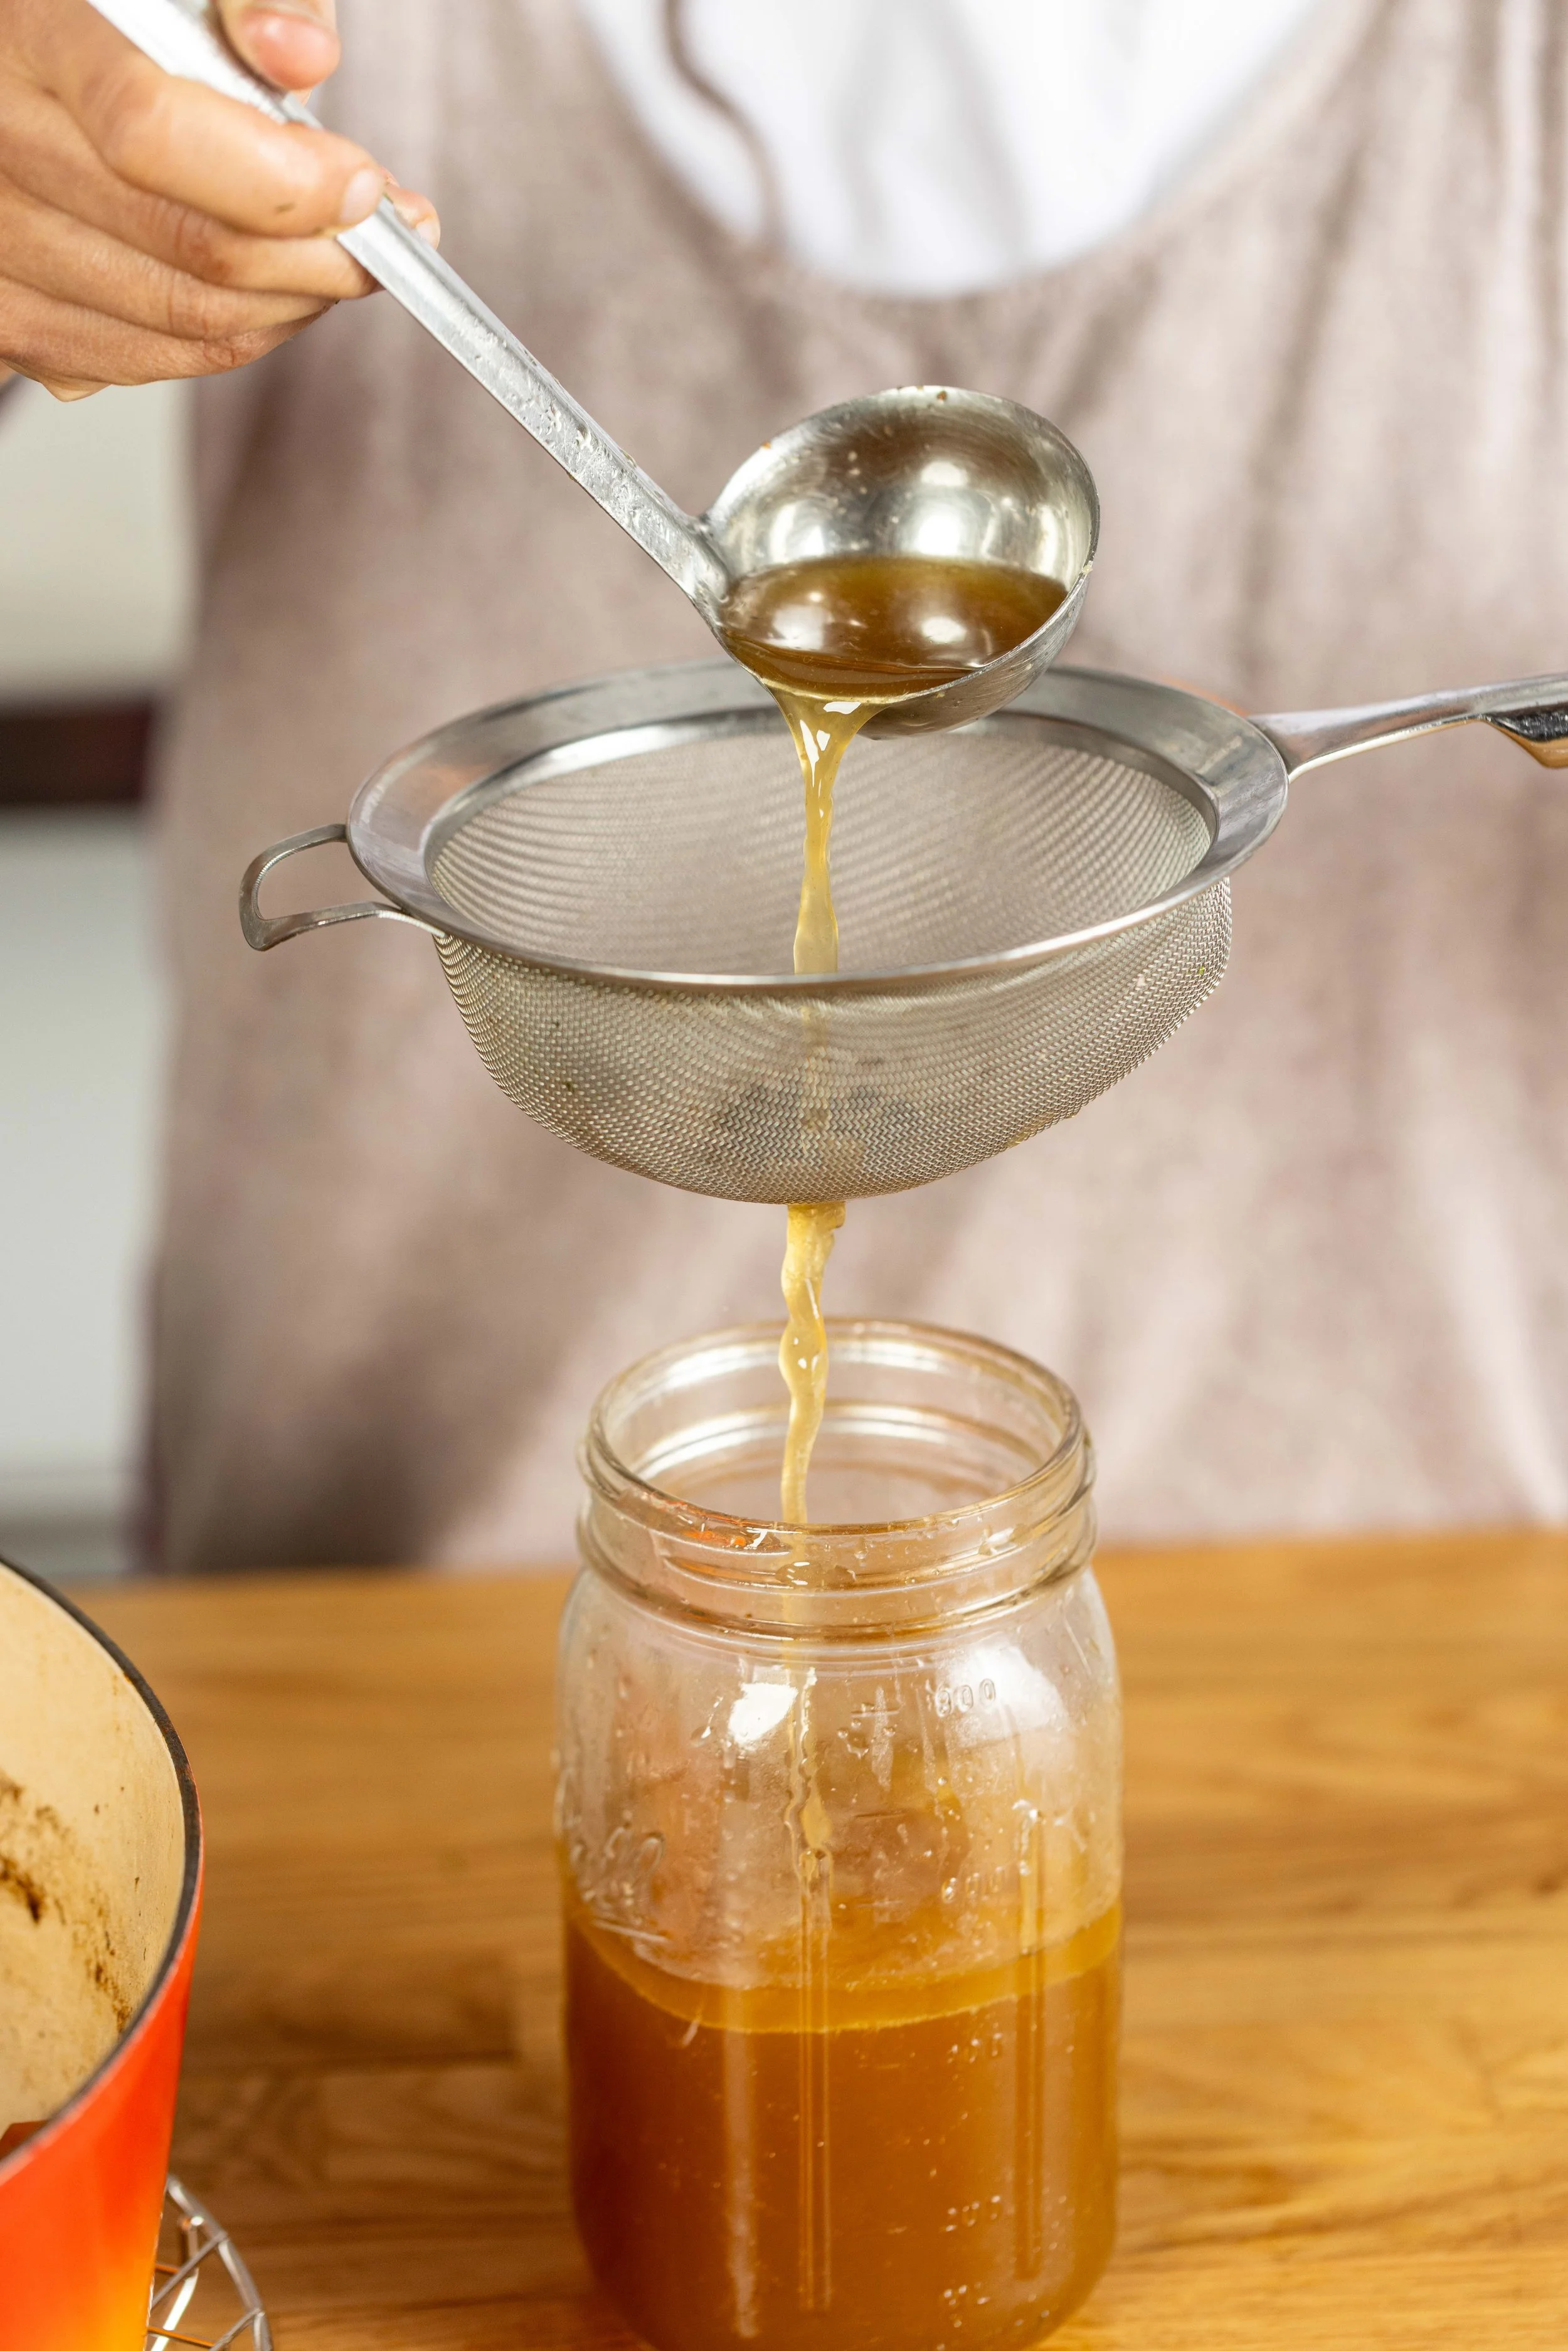
Once you have cooked the broth to your desired stage, remove from heat and let cool slightly. Strain the broth carefully–it will be hot. Transfer to your containers and place in the refrigerator unlidded.
Once the broth has chilled to the touch, cover with lids. You can also place it in the freezer at this point.*
*A note about fat. Some bones, particularly marrow bones, will result in a thick layer of fat on top of your broth. Do not be concerned about this. If it is your preference, you may remove it and use it for other purposes. This fat is delicious in place of butter or turned into a condiment for soups. You can also just stir this fat into the broth and enjoy the extra flavor!
My favorite books for further research:
Fallon Morell, S., & Daniel, K. T. (2014). Nourishing broth: An old-fashioned remedy for the modern world. Grand Central Life & Style.
Mamane, R. (2017). Mastering stocks and broths: A comprehensive culinary approach using traditional techniques and no-waste methods. Chelsea Green Publishing.